Program Management
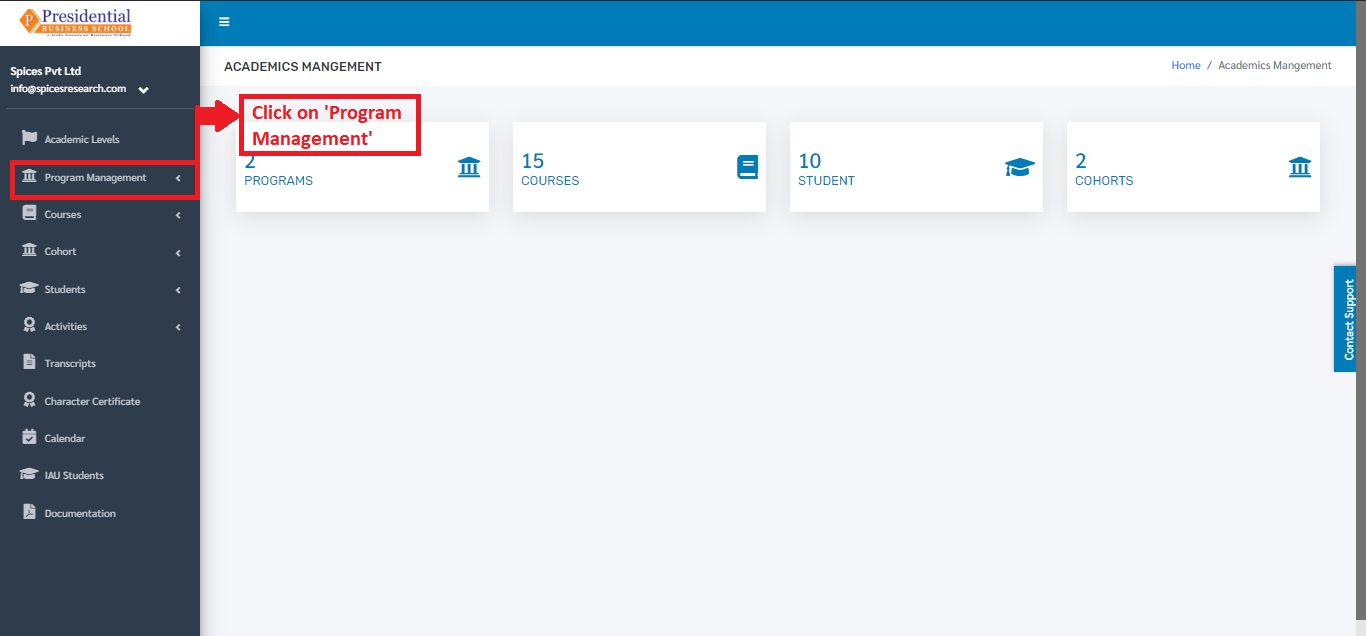
‘Program Management’ deals with the management of levels and programs that are provided by the college.
Users must click on ‘Program Management’ on the left hand side of the dashboard to access it. This is done by the following process.
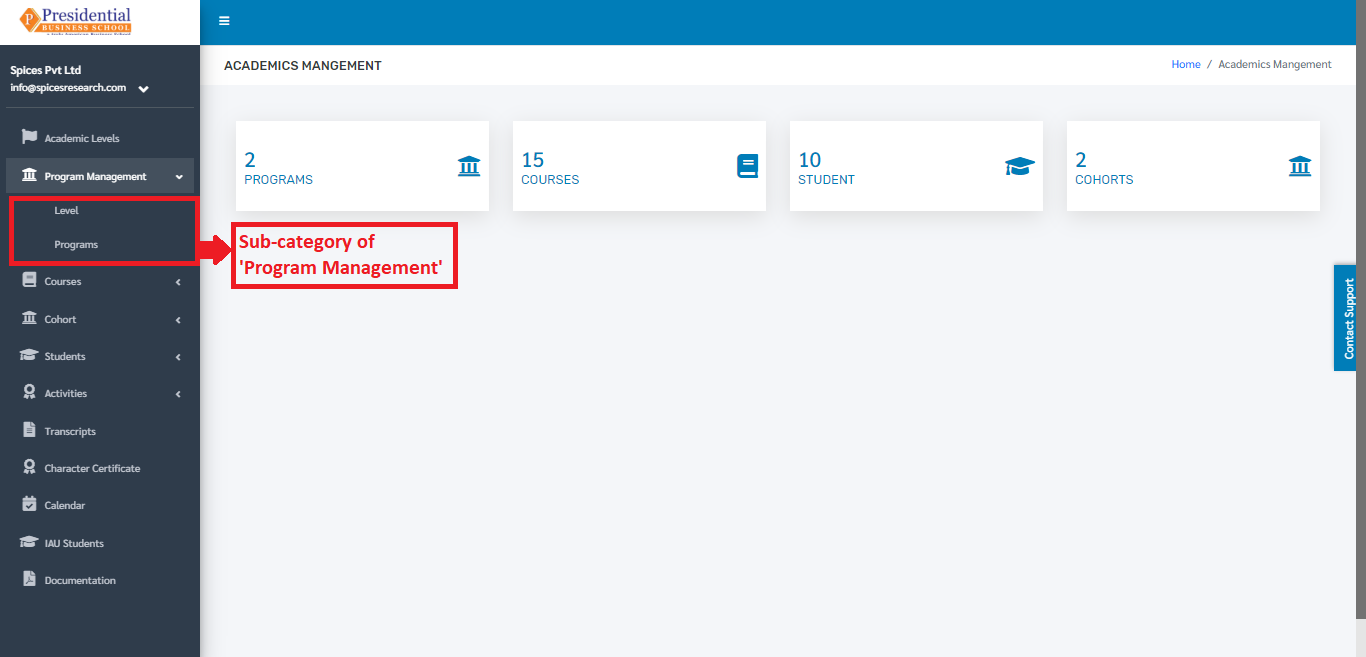
On clicking ‘Program Management’, two subcategories will appear namely Level and Programs.
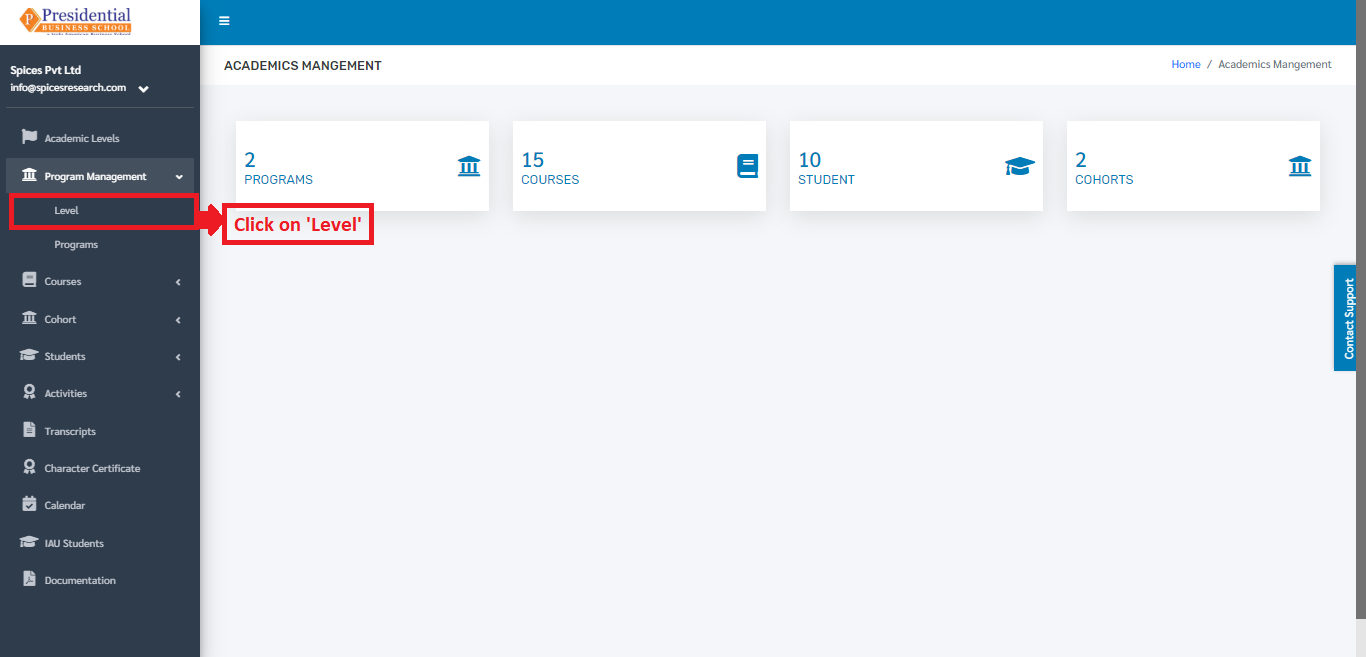
1. Level
The user from the college must click on ‘Level’ to access this subcategory. This is done by the following process.
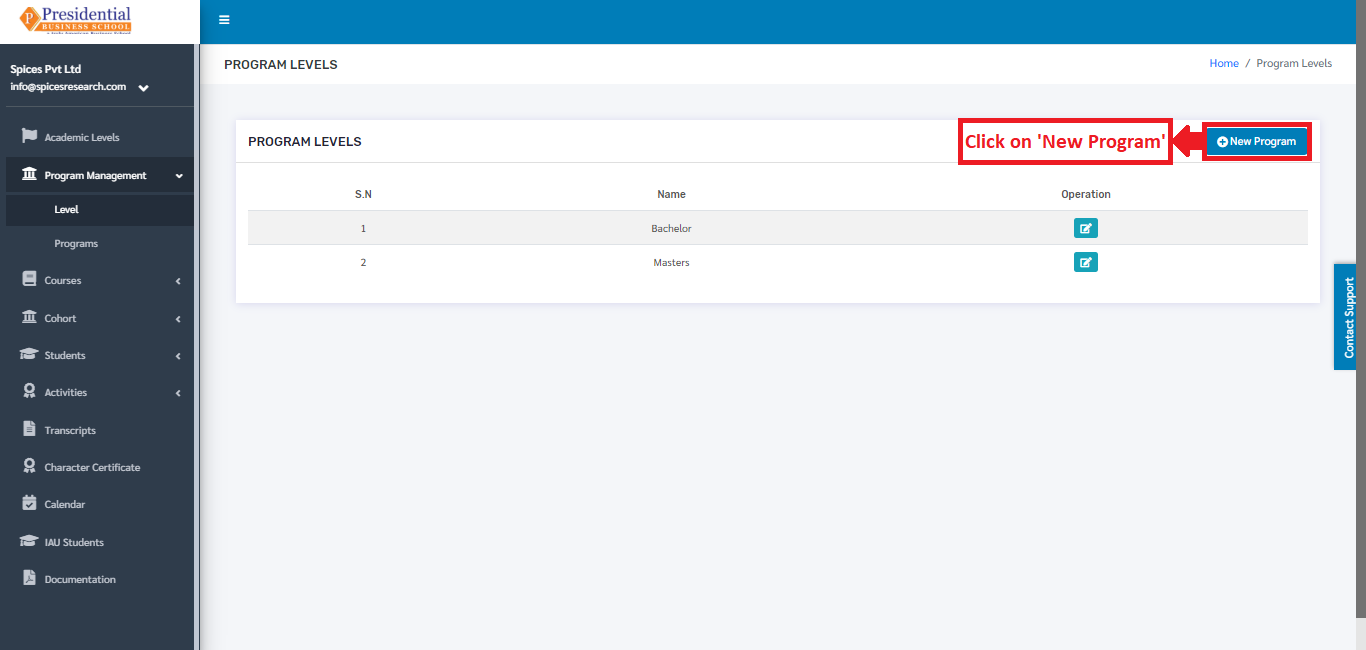
The user will be landed on the following page after clicking ‘Level’.
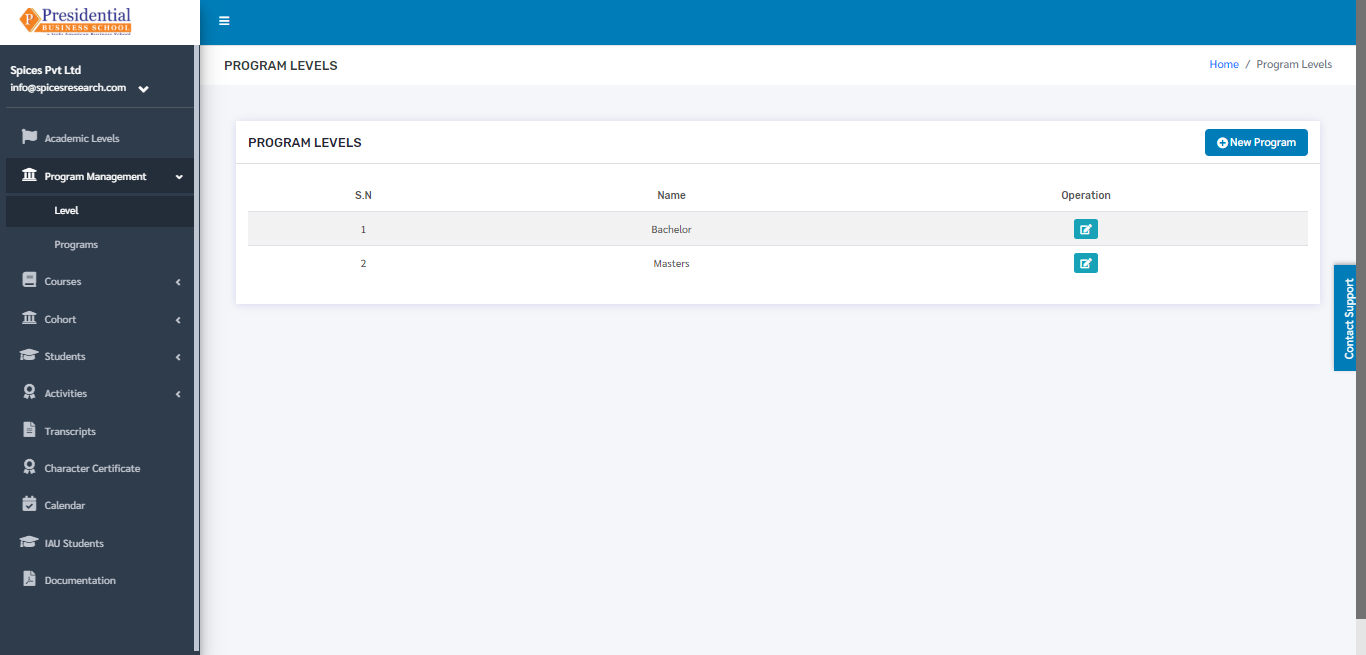
1.1 Create New Level
For creating a new level, the user has to click on the ‘New Program’ button. This is done by the following process.
A page consisting of a form will appear after clicking on the ‘New Program’ button.
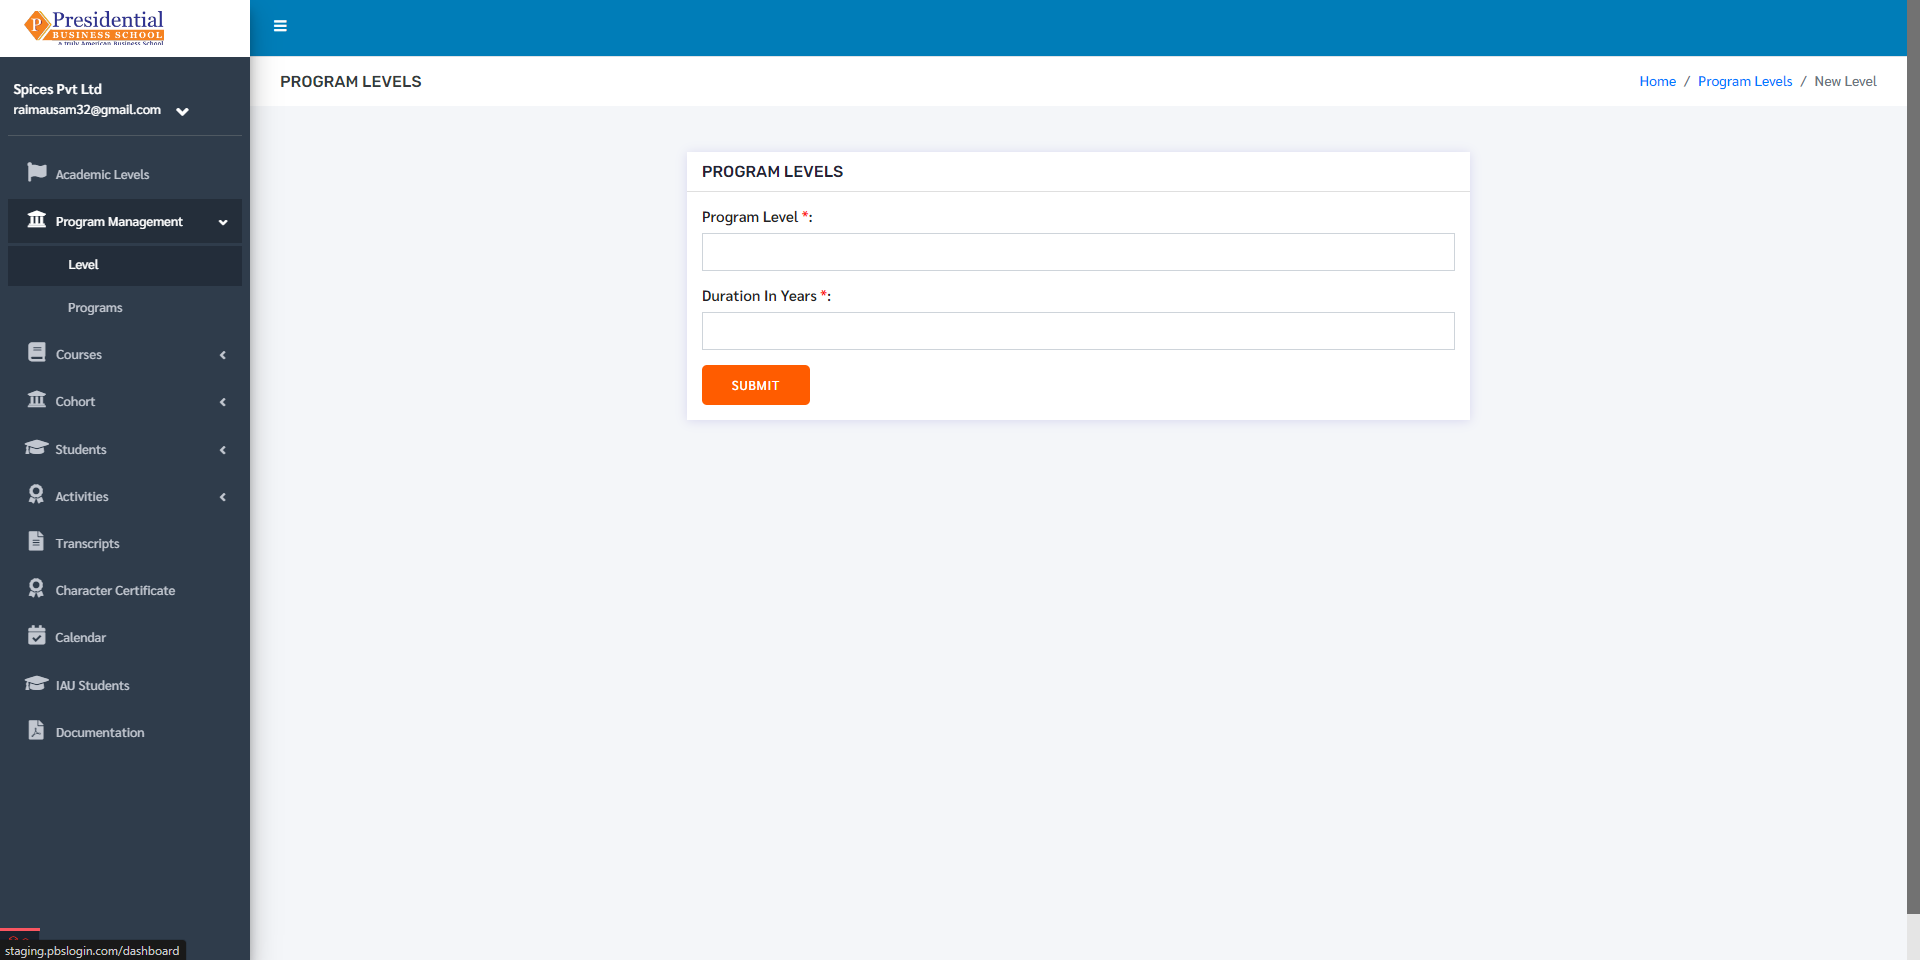
The required details must be filled in the form and click on ‘SUBMIT’ to finish up the creation process.
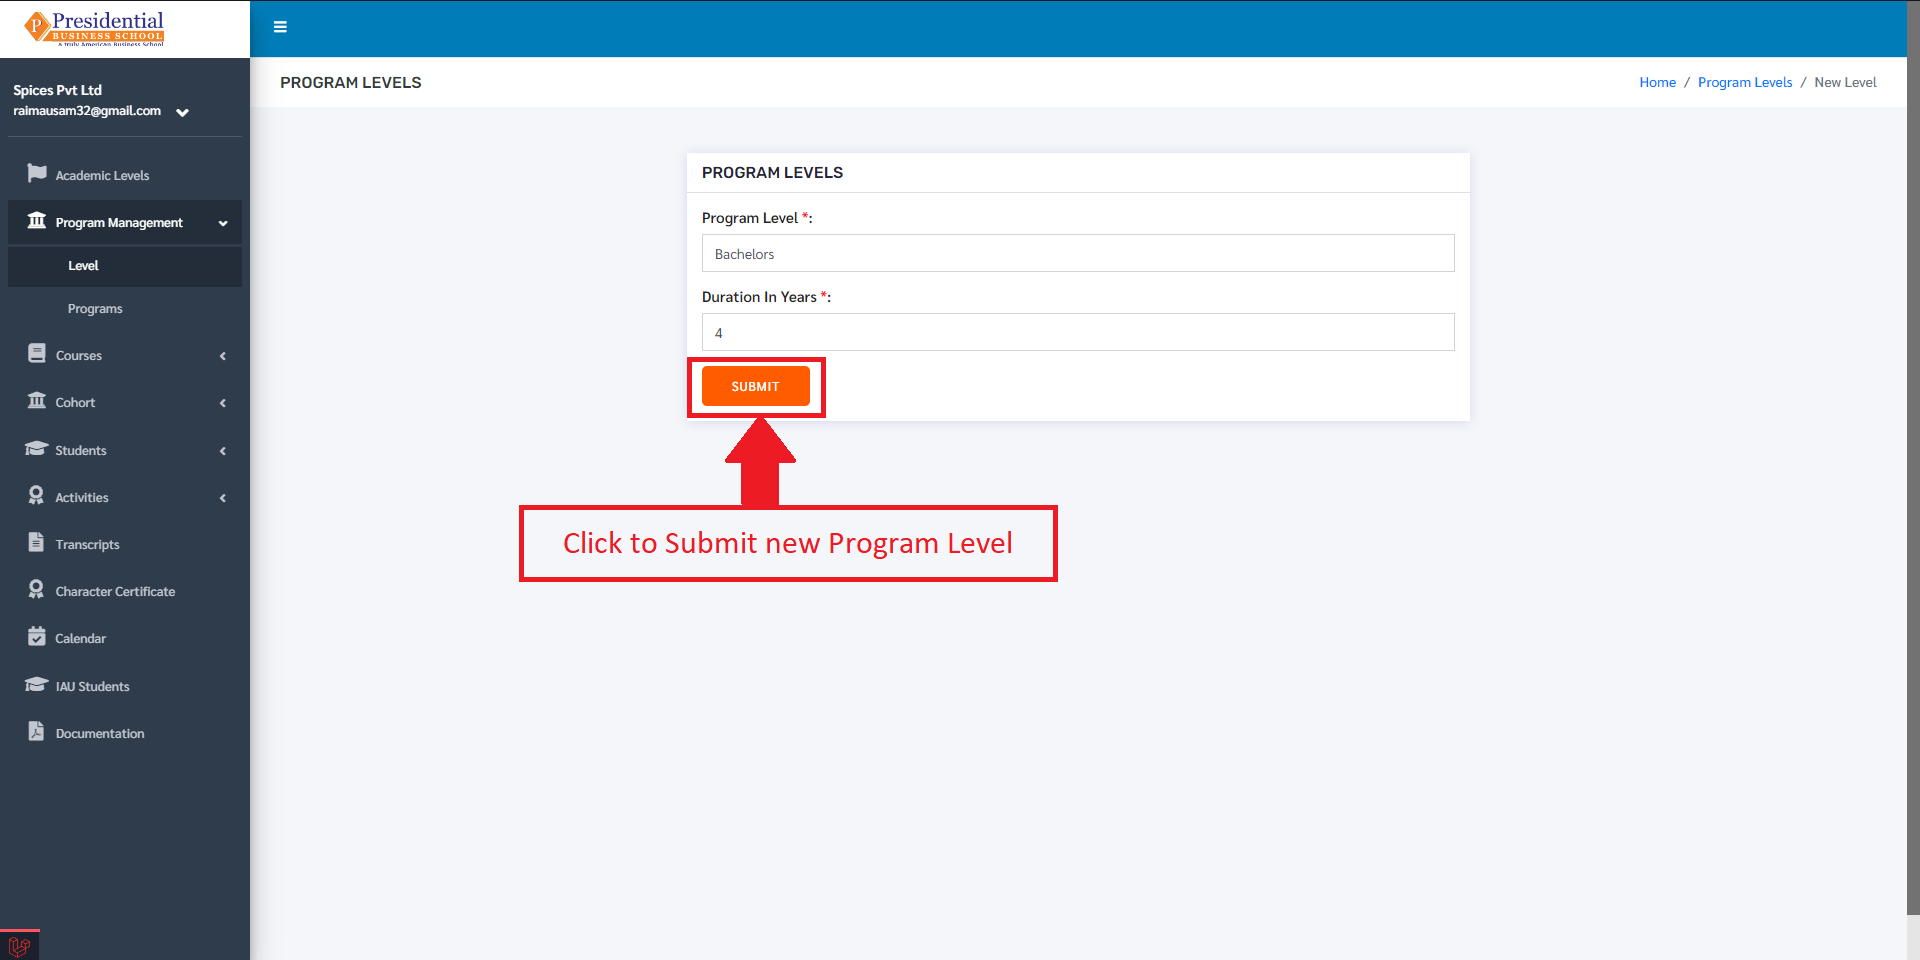
Once the ‘SUBMIT’ button is clicked a new level is created and seen on the dashboard of Level.

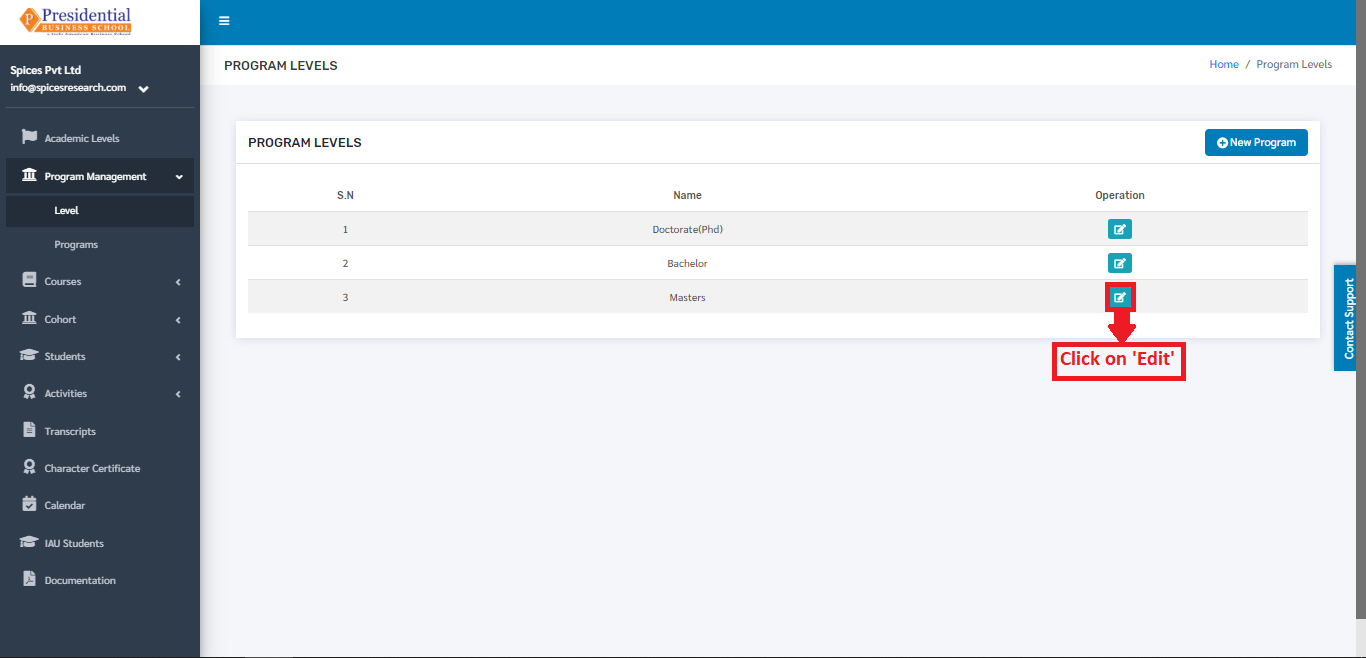
1.2 Edit Level
If necessary, details of the level can be edited as well. This is done by clicking on the ‘Edit’ icon(button) under the Operation column.
The following page will appear on clicking the Edit icon(button).
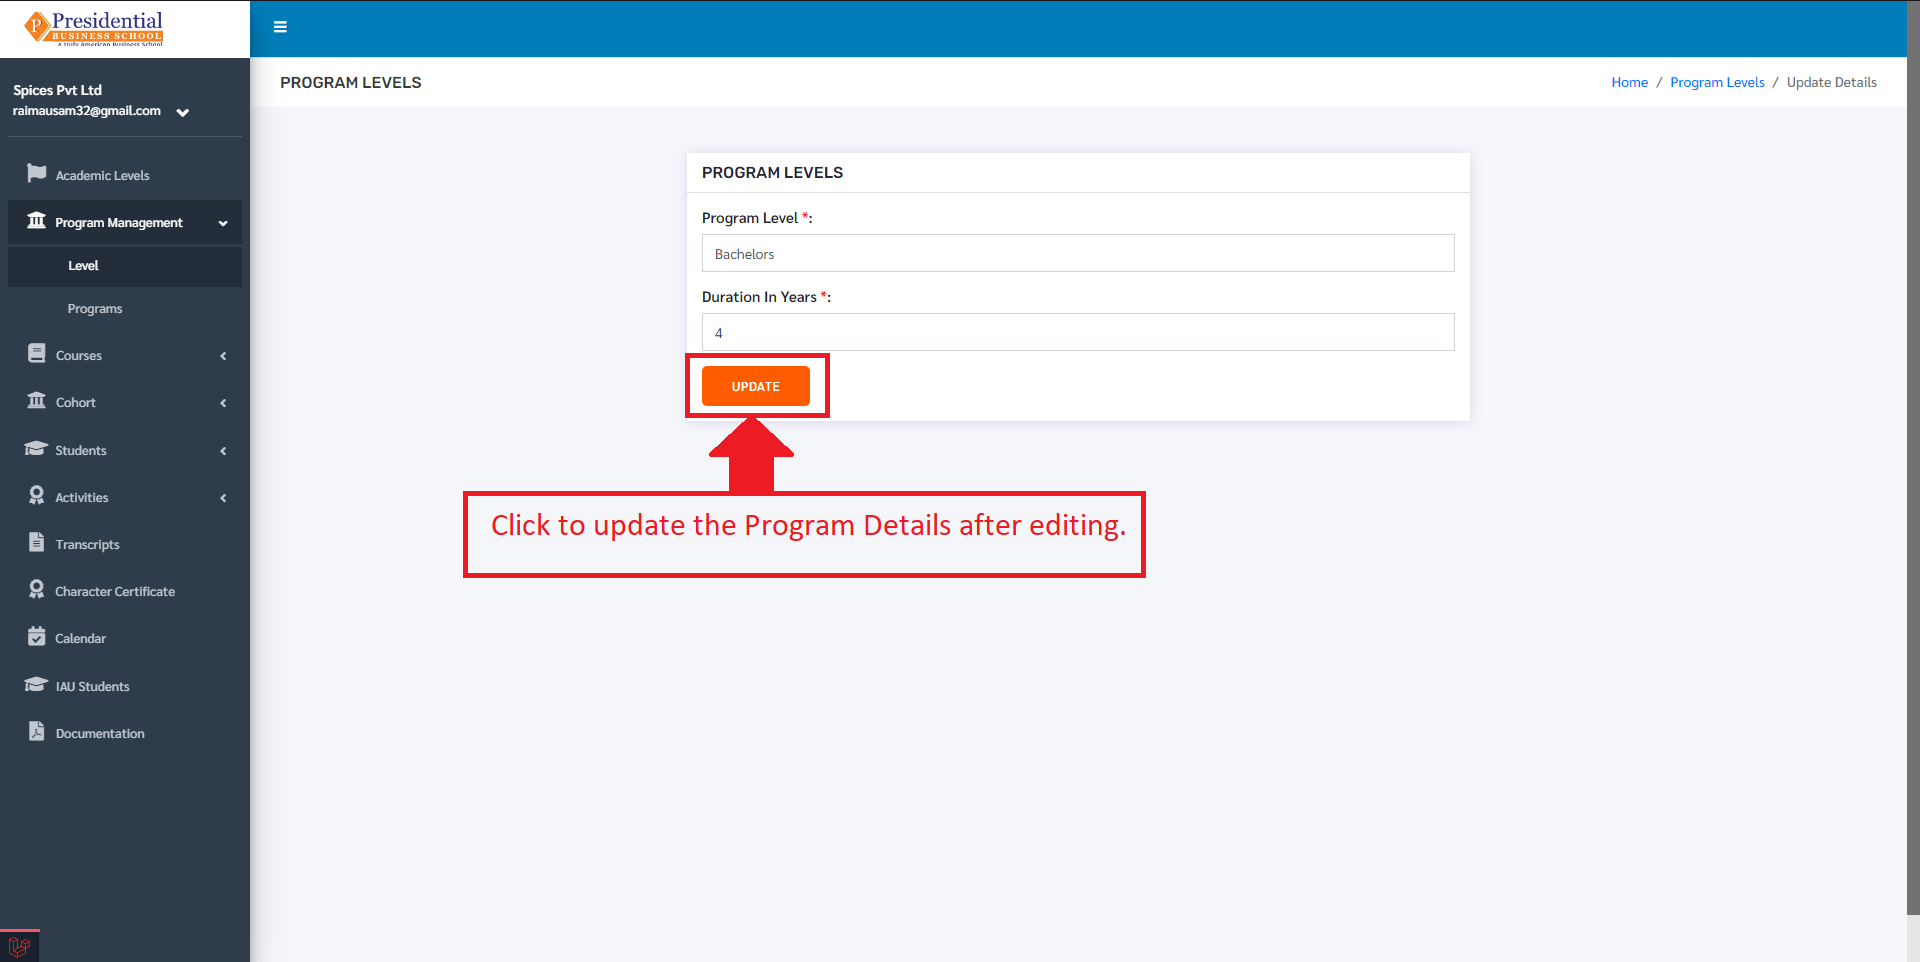
After editing the details, the user must click on the ‘UPDATE’ button to finish up the editing process.
2. Programs
The user from the college must click on ‘Programs’ to access this subcategory. This is done by the following process.
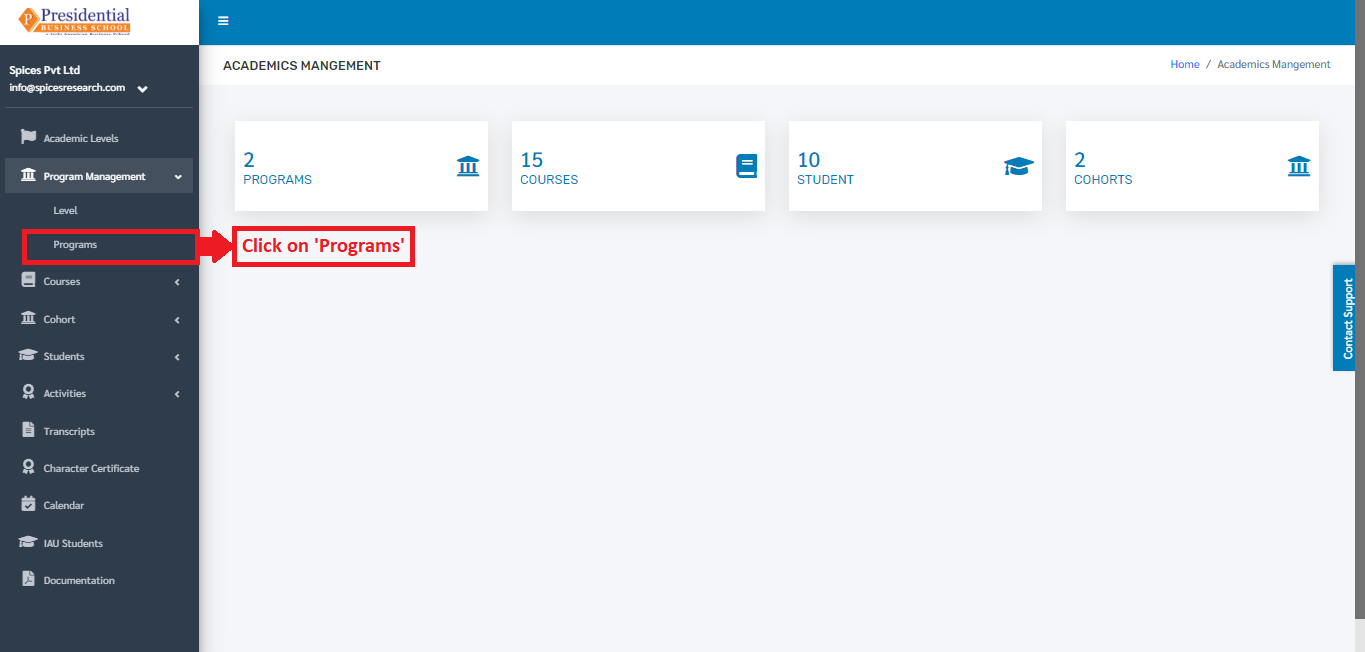
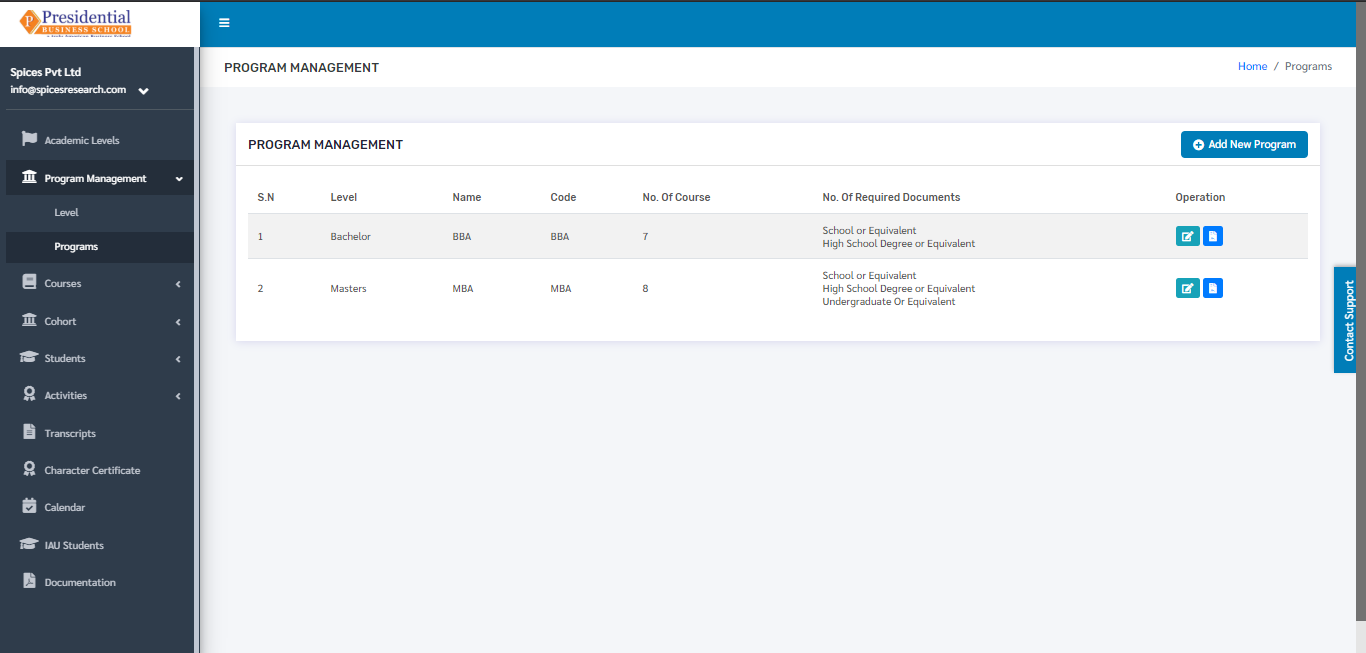
The user will be landed on the following page after clicking ‘Programs’.
2.1 Create New Program
For creating a new program, the user has to click on the ‘Add New Program’ button. This is done by the following process.
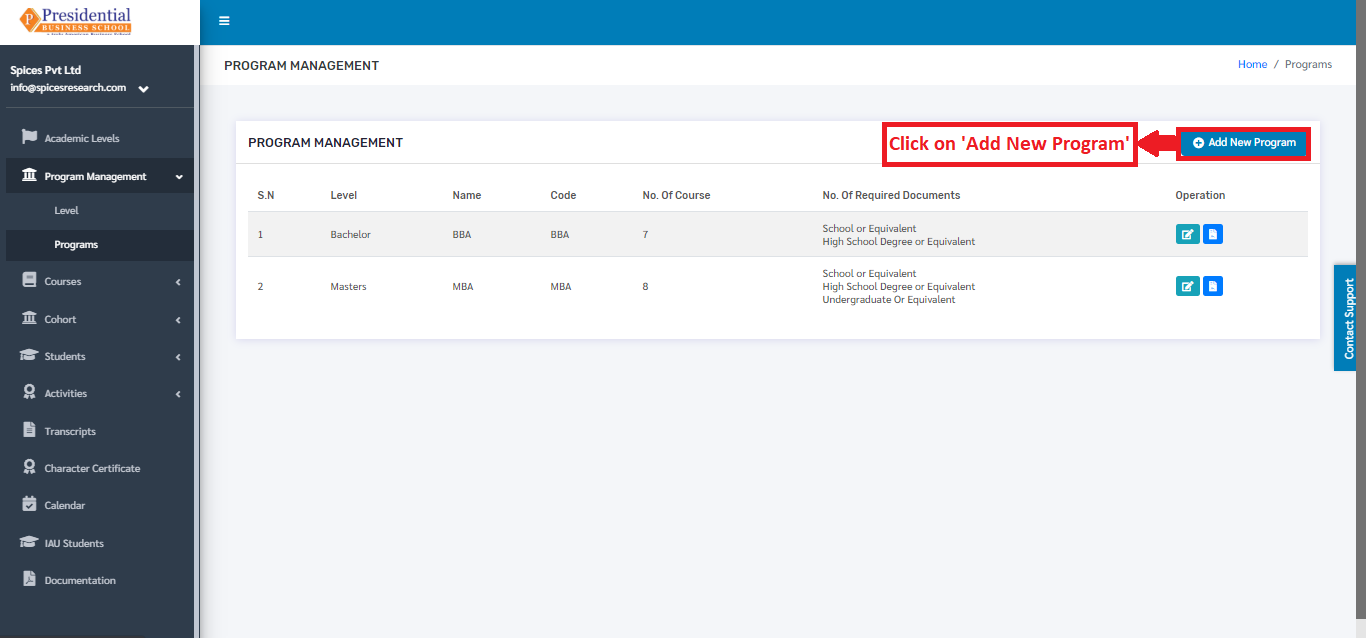
A page consisting of a form will appear after clicking on the ‘Add New Program’ button.
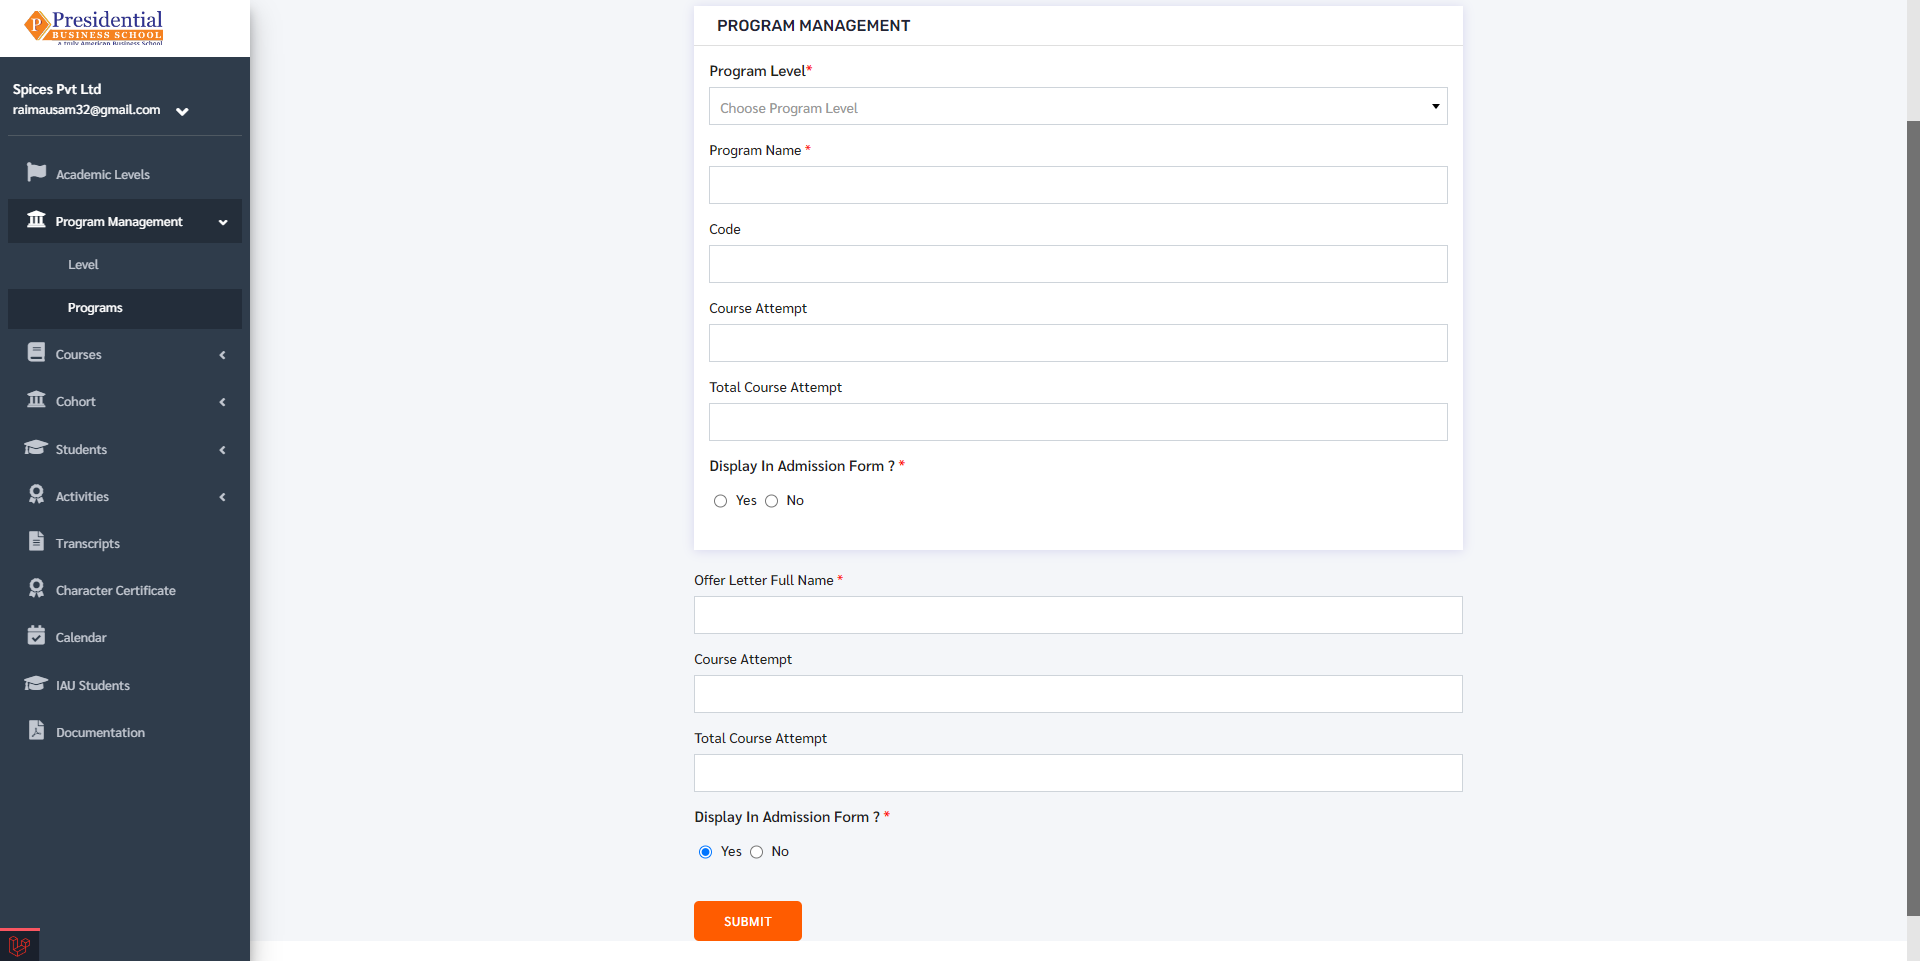
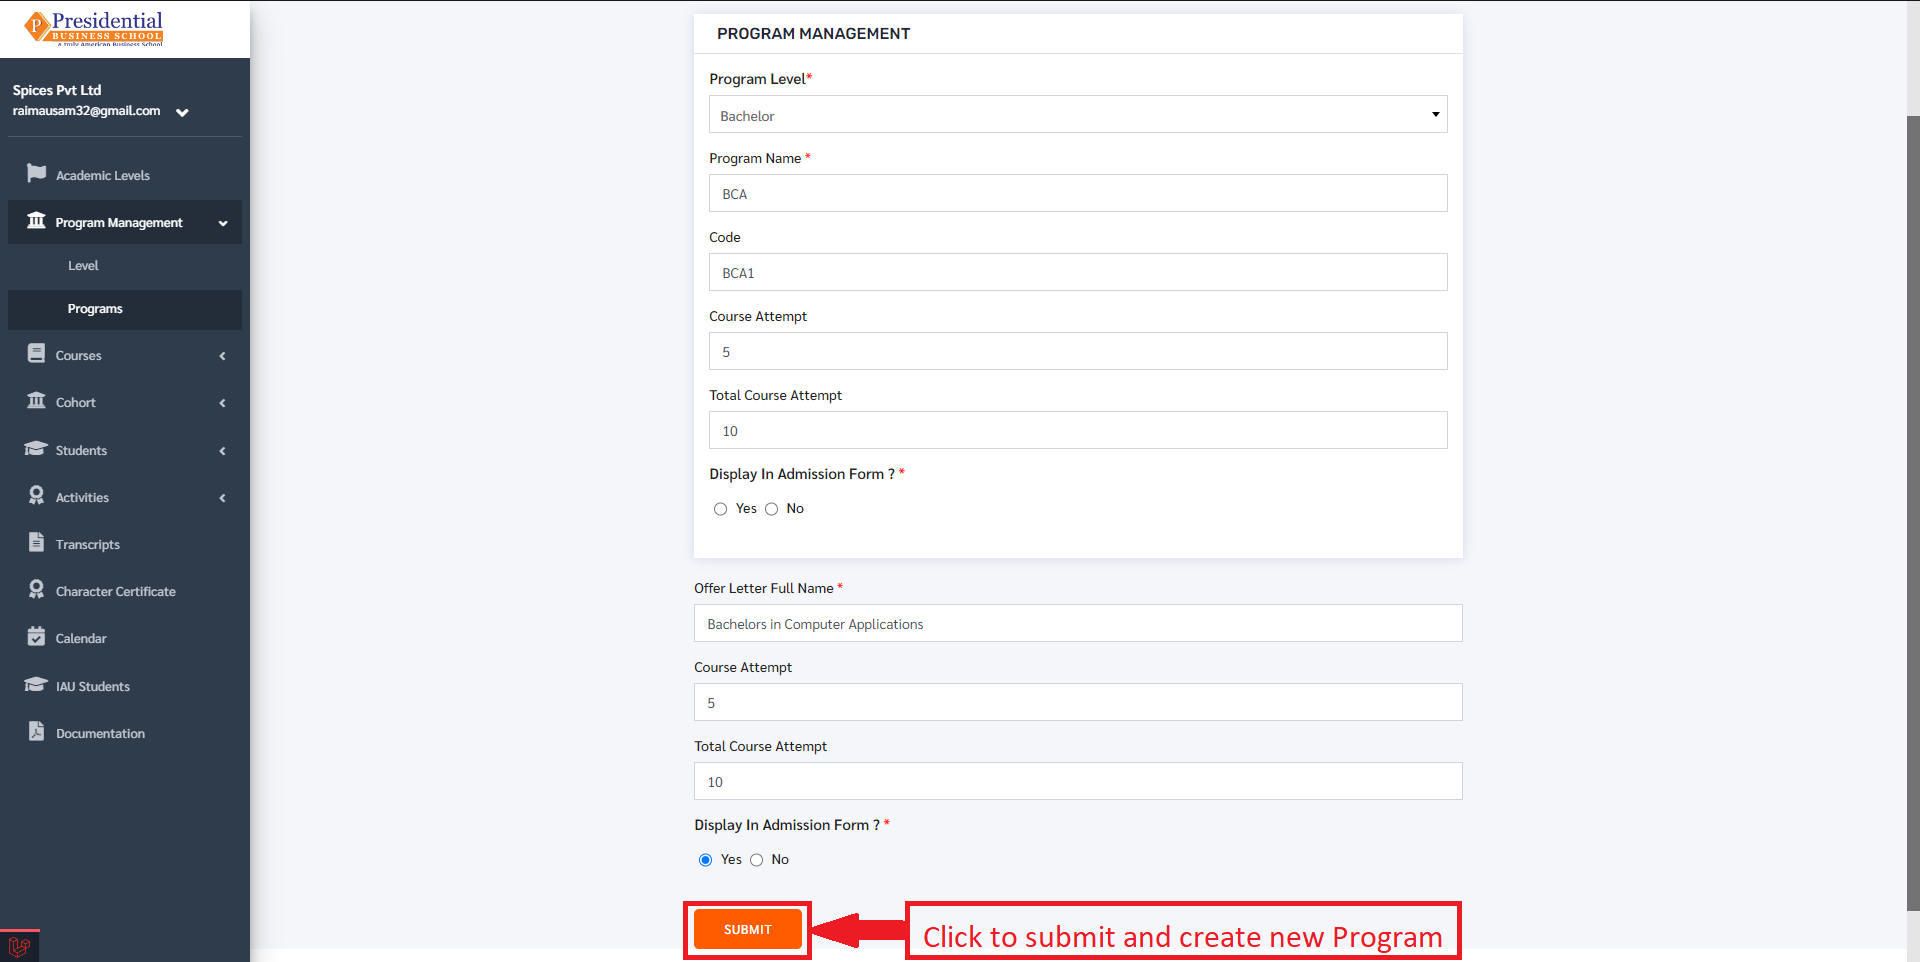
The required details must be filled in the form and click on ‘SUBMIT’ to finish up the creation process.
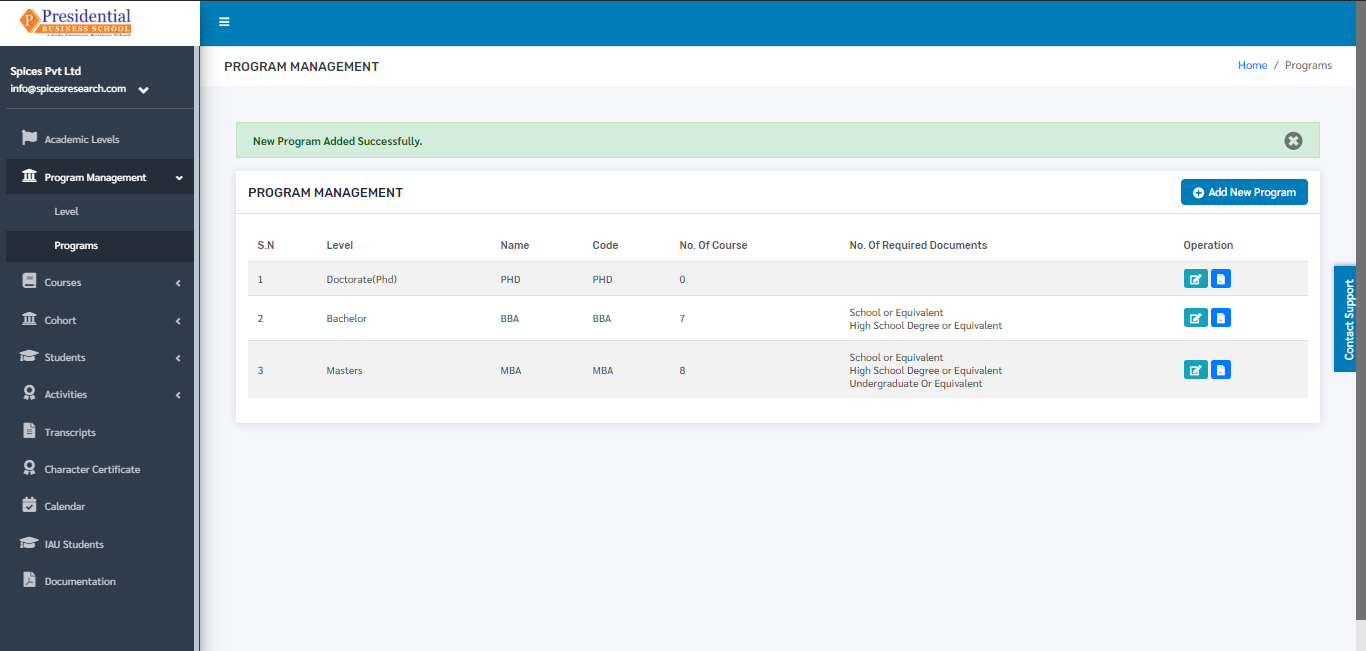
Once the ‘SUBMIT’ button is clicked a new program is created and seen on the dashboard of ‘Programs’.
2.2 Manage Required Academic Documents
In order to manage the required documents needed for the desired Program, the user will have to click on the ‘Manage Required Documents’ icon under the Operation column.
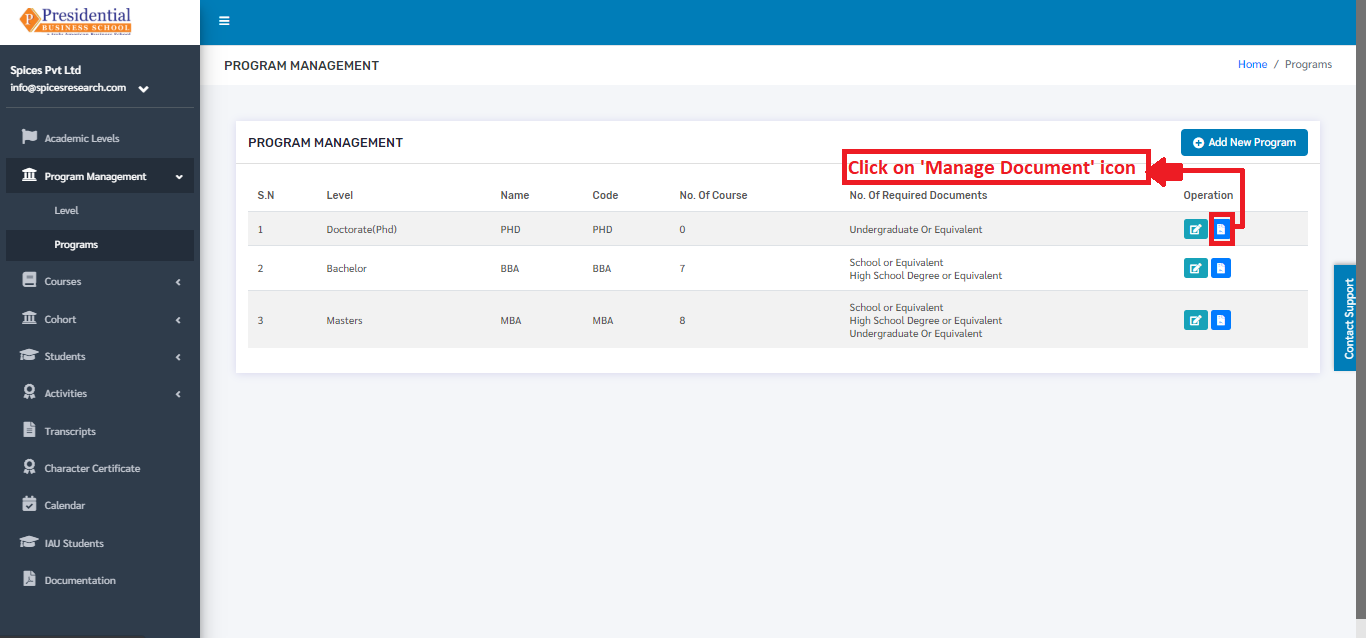
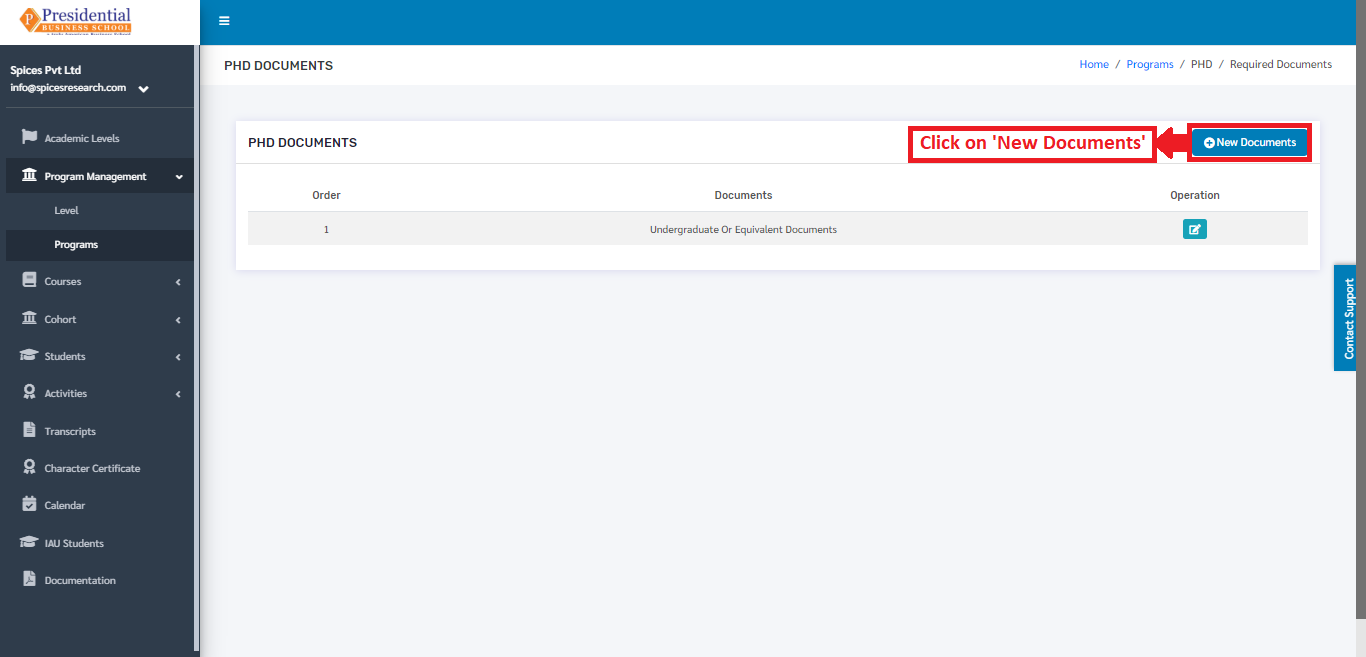
The user will be landed on the following page.

Required Academic Documents can be selected for a particular Program by clicking on the ‘New Document’ button.
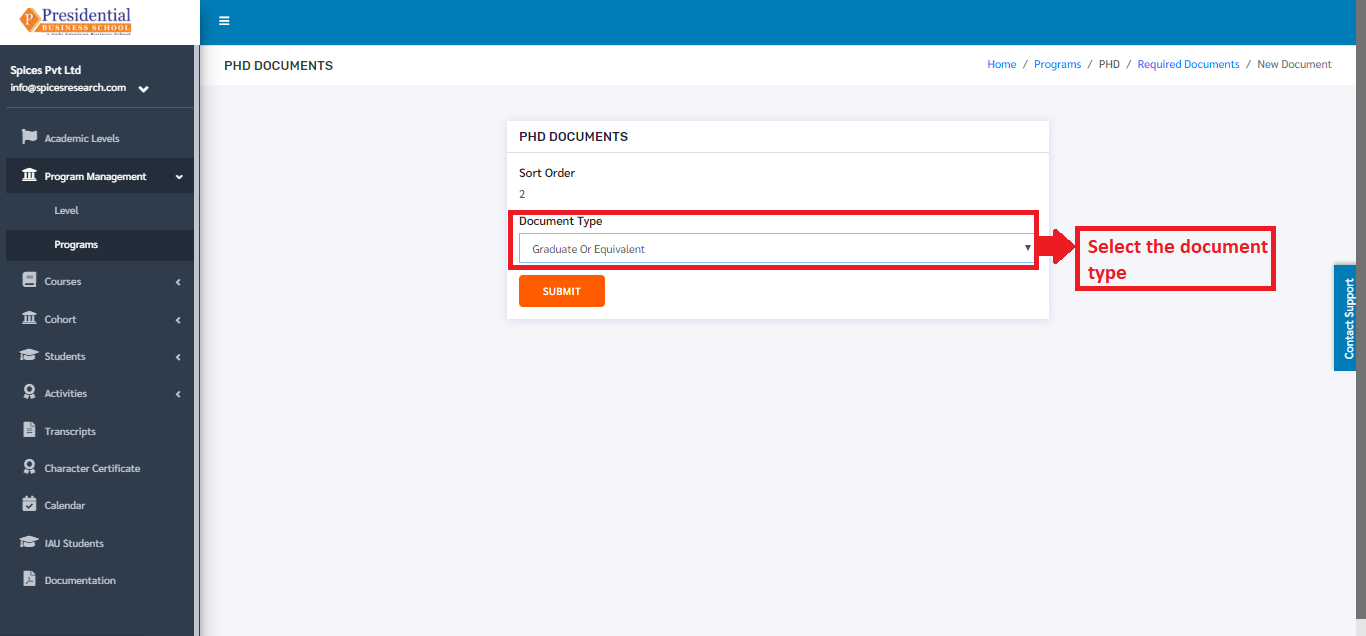
The type of the document must be selected in the page that appears after clicking the ‘New Document’ button.
Once the desired document type is selected, the user must click on the ‘SUBMIT’ button.
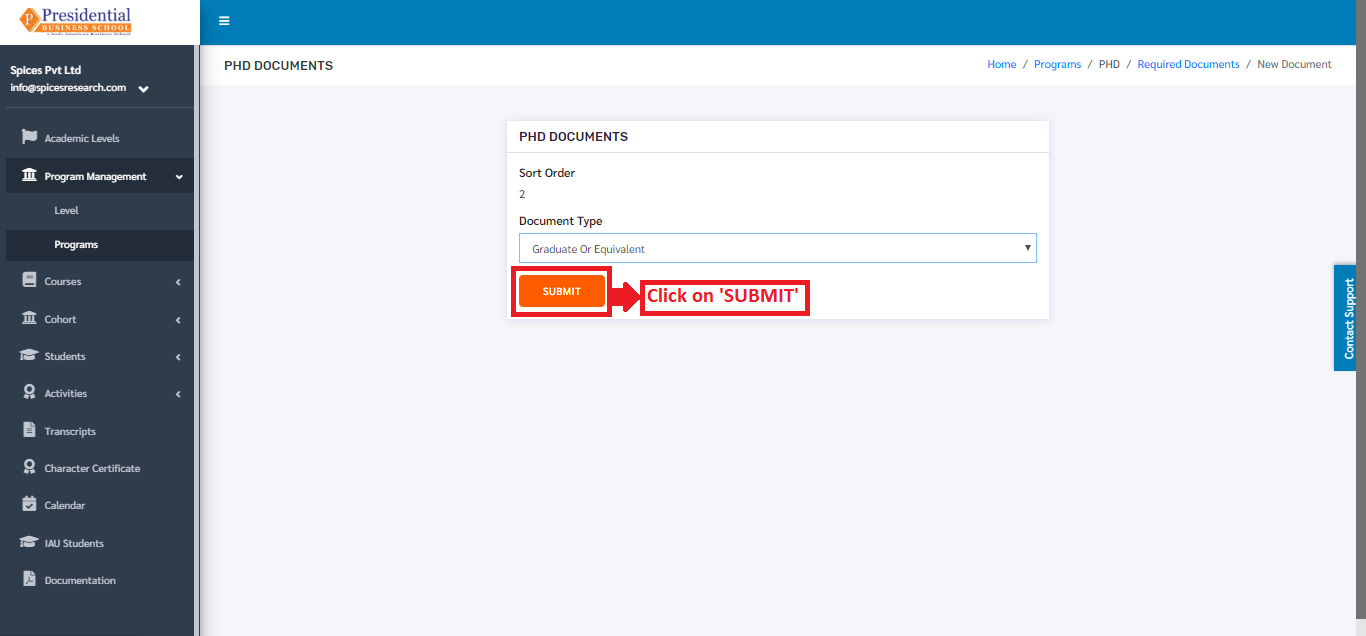
After clicking the ‘SUBMIT’ button, the required document type can be seen on the dashboard.
